
Attic Contamination Cleanup Checklist for Homes
Welcome, I’m CritterJimm, Certified Wildlife Agent at American Wildlife Agents. If you have heard movement overhead, noticed a strong odor, or found staining around a ceiling vent, do not treat it as a simple housekeeping project. This attic contamination cleanup checklist helps Central Florida property owners understand what needs to happen after wildlife has used an attic - and why removal, cleanup, repairs, and prevention must work together.
Wildlife waste can settle into insulation, framing, ductwork, and stored materials long before the issue becomes visible below. In Orlando-area homes, high heat and humidity can intensify odors and make damaged insulation less effective. The goal is not to make an attic look better for a day. It is to restore a safer, cleaner space and close the routes that allowed the intrusion.
What Counts as Attic Contamination?
Contamination is more than droppings on the attic floor. Depending on the animal and the length of the activity, an affected attic may contain urine staining, nesting material, damaged insulation, food debris, carcass remains, odor residue, and compressed areas of insulation. Raccoons, squirrels, rats, opossums, and bats can each leave different evidence, but all require a careful inspection before cleanup begins.
A small, fresh area may be manageable with limited removal and targeted sanitation. A long-term den site or nesting area often calls for insulation removal, detailed treatment of exposed surfaces, and repair of damaged building materials. The right scope depends on the contamination level, the type of insulation, attic access, and whether activity is truly over.
Start Only After Wildlife Activity Has Stopped
The first item on any attic contamination cleanup checklist is confirmation that the animal is no longer inside. Cleaning an active attic can disturb wildlife, create a new exit route into living spaces, and waste money if fresh contamination appears the next night.
A professional inspection should identify current entry points, travel paths, nesting areas, and vulnerable construction gaps. Trapping or one-way exclusion may be needed before those openings are sealed. Timing matters, particularly when young animals may be present. Sealing too early can create a more serious odor and sanitation issue inside the structure.
Before anyone begins remediation, make sure the attic is dry enough to work in safely and that electrical, HVAC, and structural concerns have been identified. Water intrusion can compound contamination, while damaged wiring or unstable ceiling areas need special care.
Attic Contamination Cleanup Checklist
Use this checklist to assess the work needed. For extensive waste, heavy odor, a difficult-to-access attic, or suspected long-term activity, professional remediation is the safer choice.
Document the affected areas. Note droppings, urine marks, torn insulation, nesting locations, odor concentrations, and damage to ducts, vents, wiring, or wood. Photos and a written scope help property owners understand what is being corrected.
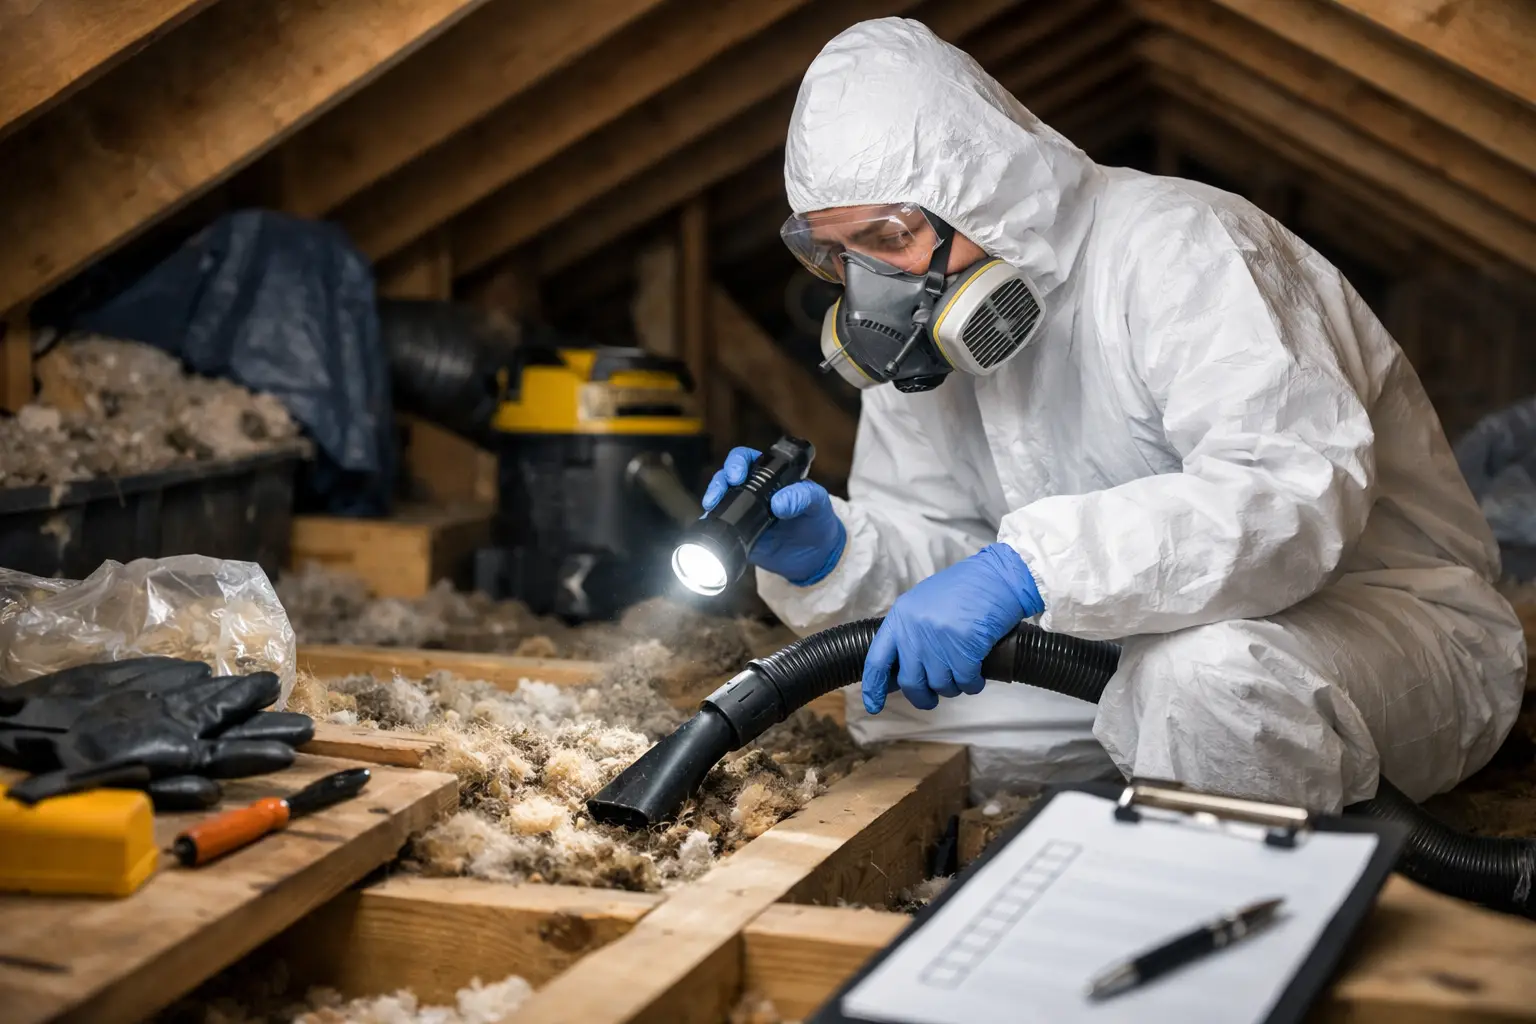
Use proper personal protection. Anyone entering the space should use appropriate respiratory protection, gloves, eye protection, and disposable protective clothing. Attics are enclosed, dusty environments, and dry waste should never be handled casually.
Avoid dry sweeping or ordinary vacuuming. These methods can stir contaminated material into the air. Use controlled removal methods and equipment designed for fine-particle collection when applicable.
Remove heavily [contaminated insulation](https://www.americanwildlifeagents.com/post/can-wildlife-damage-home-insulation-yes). Insulation that has absorbed urine, contains widespread waste, or has been used as nesting material usually cannot be restored through surface treatment alone. It should be carefully bagged, removed, and disposed of according to local requirements.
Remove nesting material and debris. Take out leaves, shredded building materials, food remnants, and other debris left by wildlife. Do not overlook tight corners, soffit areas, insulation edges, or spaces around duct runs.
Treat solid surfaces correctly. After physical removal, exposed framing, decking, and other nonporous surfaces may need cleaning and disinfection with products used according to their label directions. Treatment should cover the actual travel and nesting areas, not just the most visible spots.
Address odor at its source. Fragrance products may cover an odor temporarily, but they do not remove urine-soaked insulation or debris. Source removal is the most reliable path to a lasting improvement.
Inspect insulation depth and performance. Wildlife activity can compress, shift, or contaminate insulation far beyond the nest. Once affected material is removed, assess whether replacement or top-off insulation is needed to restore proper coverage.
Check mechanical components. Inspect HVAC ducts, vent connections, exhaust routes, wiring, and recessed fixtures for damage or obstruction. If a component is compromised, have the appropriate qualified trade evaluate the repair.
Bag and contain materials before they move through the home. A cleanup plan should prevent removed materials from spreading dust or residue through hallways, garages, or living areas.
Clean, Remove, or Replace? The Decision Matters
Surface contamination on accessible wood may respond well to careful cleaning and treatment after the material is removed. Insulation is different. Once it has absorbed urine or become filled with waste and nesting debris, cleaning the top layer rarely solves the odor or sanitation concern underneath.
Replacement is often the better value when contamination is broad, insulation is badly matted, or there is a persistent smell after initial work. It can also make future inspections easier because the attic begins with a clean baseline. On the other hand, a small, contained issue may only require selective insulation removal and sanitation. A thorough inspection should guide that decision instead of guessing from one visible stain.
Do Not Skip Exclusion and Repairs
Cleanup without exclusion is a reset button with no protection behind it. Wildlife can return through lifted soffits, open roof vents, damaged screens, construction gaps, utility penetrations, and weak areas along the roofline. A property may look clean while the original access point remains open.
After removal is confirmed, entry points should be sealed with durable materials suited to the location and target animal. Damaged fascia, vent covers, and other exterior components may also require repair. The work should preserve ventilation and drainage while preventing reentry. Blocking every opening without understanding its purpose can create moisture or ventilation problems, so this is where experienced assessment matters.
At American Wildlife Agents, our approach is built around the complete correction: inspection, humane removal when needed, contamination remediation, exclusion, and repairs. That process is designed to protect the structure, not simply move the immediate problem elsewhere.
When to Call a Certified Wildlife Professional
Call for professional help if the attic has a strong odor, widespread waste, stained insulation, dead animal remains, visible structural damage, or repeated wildlife activity. Commercial properties and multi-unit buildings also benefit from a documented inspection and clear remediation scope, especially when maintenance teams need to protect occupants and preserve the building.
A certified wildlife agent can identify the species involved, confirm whether activity is current, recommend appropriate exclusion timing, and explain which materials can be treated versus removed. This reduces the chance of sealing animals inside or spending on cleanup that does not address the source.
A clean attic should bring peace of mind, not leave you wondering what is still overhead. Handle the contamination carefully, close the entry route correctly, and give your property the long-term protection it deserves.


Comments